

Eunos Roadster(Mazda MX-5 Miata) - JobLog (Deion for Novice)


Hozzászólások
25 15 September 2022, 13:35
Very nice as always
And of course I will be following your build
Thanks for sharing all your great info
15 September 2022, 15:16
Thanks Dominik Weitzer, Jv 🙂
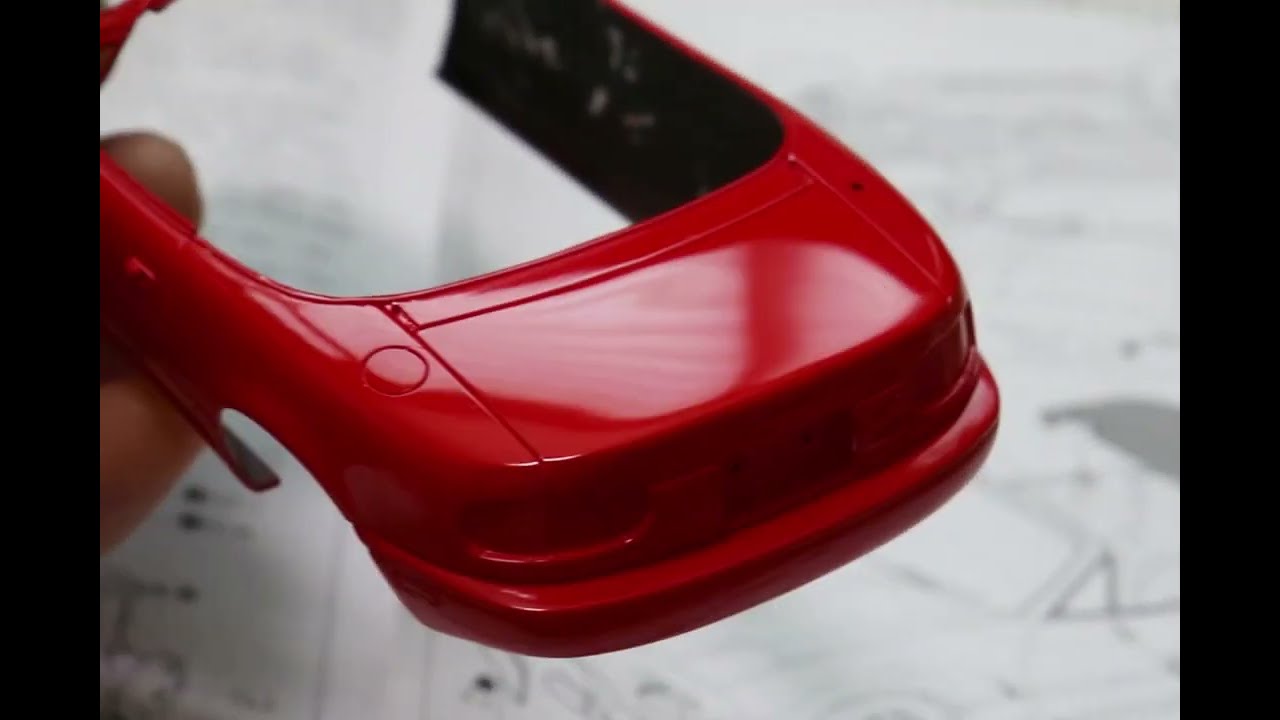
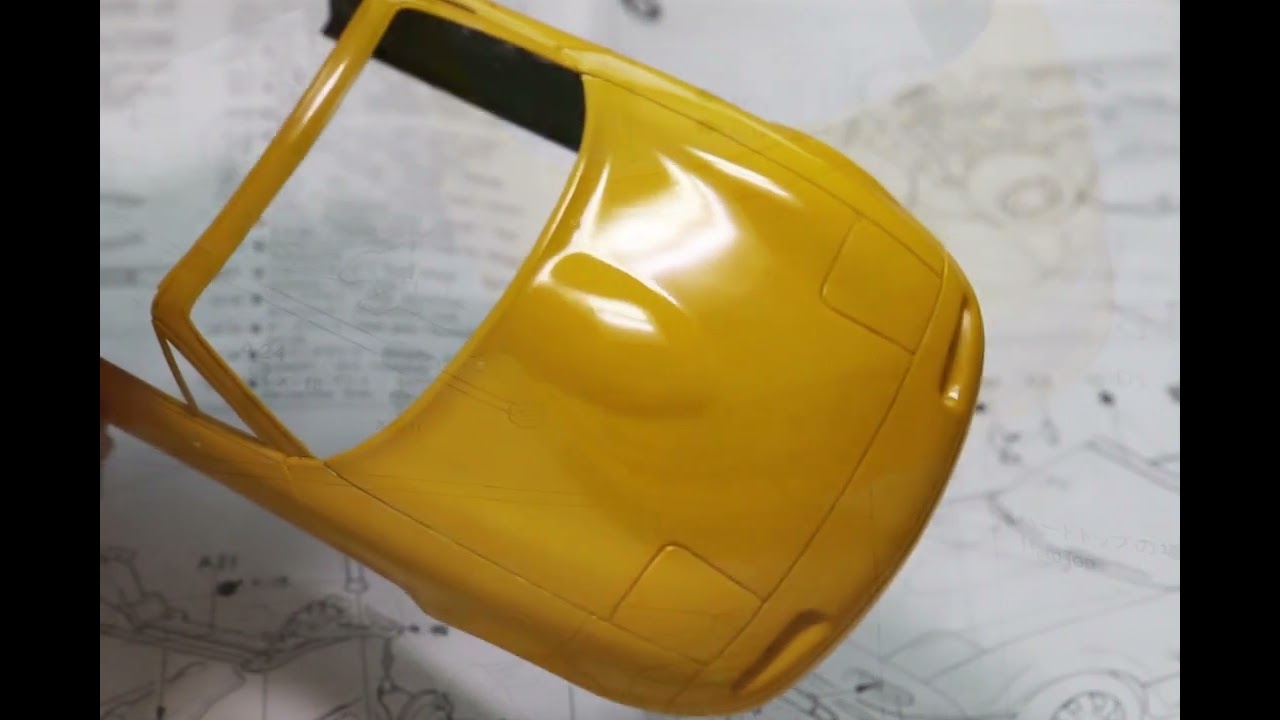
The yellow car is a gift for my friend, and the red car is mine.
15 September 2022, 17:26
Man, I like your pictures and descriptions. I like what you do. The scraping of the panel lines pay off a lot! Very cool.
19 September 2022, 04:14
Thanks Christian W.
Right. Older kits will look like a much sharper surface when scraping the panel lines.
19 September 2022, 04:27
And you don't need that dumb panellining, which makes a lot of models looking worse than without. Scraping gives the panel lines that deepness what is needed - if you want it.
19 September 2022, 04:57
Great. I like the step by step pictures and description. I mostly don't polish my paint. I'm to lazy for that 😄 But what's interesting for me: the washing between the phases. This is new for me. It makes sense for me too because I usually wash the original cars after water sanding. Never thought to do that on model kits. Super! Have to memory that.
20 September 2022, 20:33
very nice detailed instructions! There is always something to learn! I bow to you!
27 September 2022, 17:18
Album info
FHD Images are here.
Review - motorart.tistory.com/517
JobLog 01 - motorart.tistory.com/533
JobLog 02 - motorart.tistory.com/542
JobLog 03 - motorart.tistory.com/546
JobLog 04 - motorart.tistory.com/548
JobLog 05 - motorart.tistory.com/550


