

1969 Ferrari 312 F1 Monaco
Jacky Ickx
- Échelle:
- 1:20
- Statut:
- Terminé
- Commencé:
- January 29, 2014
- Terminé:
- February 26, 2014
This is the first MFH kit i will build. Cross my fingers. The WIP is on my web site www.racingkars.nl (Nederlands/English)
Inventaire du projet
Maquettes complètes
")
/fr/search.php?q=*&fkMATEID[]=11456&showast=no&fkWORKBENCH[]=WB11456&page=projects&project=6392?
Couleurs du projet
Exterior

Albums photos


Commentaires
29 January 2014, 17:38
I must say, until now most parts fit well. Just a small issue with the first etched parts. Nothing i couldn't solve though. As this is the first one i think i will build this pretty much out of the box.
29 January 2014, 20:18
Yep!!!
I built mine, sorry building mine, the '67 Italian GP 312, out of the box as well...
With MFH, you only need buy Paint and a variety of different glues, as after market extras...
Apart from a clean up with flexi files and soapy water, pretty much as you say, parts fit well...
29 January 2014, 20:31
It seems to me that rivets should be added. There are now holes where you should expect bumps. For now i will not drill and add rivets. I only filled some small gaps in metal parts when they are glued together and filed off some pins to create a better fit.
29 January 2014, 21:49
I'd go doo-ally...
filling them there 1000's of 'oles wiv tiny pin 'eads...
I cheat, they get painted over any way.
I use a paint syphon filled with filler and inject a small bead in the hole...😛
29 January 2014, 22:01
👍 🙂
I love this one too and also start a build of the '69 French GP car (in my albums)
I myself added the rivets, but you can easily fill the holes and then put resin rivets (decals) from Archer.😉
30 January 2014, 07:13
If i would do an actual riveting, do the rivets create any problem with the rest of the build?
30 January 2014, 07:48
0.4 or 0.5 is right for me.
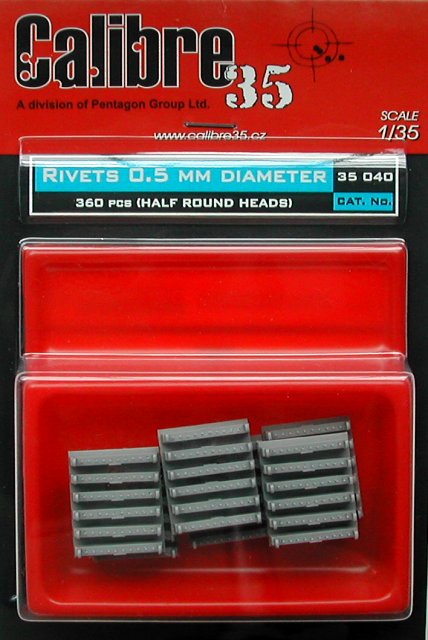
The rivets used were the 0.5 resin rivets from Calibre 35.
No probs at all for the rest of the building process.
I think you can also use any other rivets of the same size or 0.4. The main difficulty is to be able to cut them once glued on the body: metal is harder than resin😉
30 January 2014, 08:44
@Pascal...
QUOTE: " The main difficulty is being able to cut them once glued on the body,
metal is harder than resin. " END QUOTE.
Oh!!! How true, main reason I started cheating, cheaper than damaging an expensive MFH kit.
Modelling is all about fooling the eye😢
30 January 2014, 08:54
@Pascal...
Those resin Calibre 35's, are they the ones on a strip of sticky stuff, which you cut to length and stick where necessary??? No rude remarks please😄
I'd like to give 'em a try...
Any idea how much they cost and how many 312's would one packet do approx???
30 January 2014, 09:40
@Kars: Yes, those ones are cool, but choose the brass which is easier to cut than SSteel.
@Steve: Calibre 35 rivets were sold in blister of 360 parts.
About 7? per pack.
About... 2 packs for the '67 🙂 Don't remember for the '69.
You need to cut them from the sprue and then simply glue them inside 0.3mm holes. Then you glue from inside and cut the rivets tails from inside 5mn later.
The main problem is that C35 resin rivets are now hard to find due to the fact that they stop to produce them... But MasterClub resin rivets are cool too!😉
30 January 2014, 10:37
Now i have doubts. Go on or wait for the Archer rivets. I don't know how long it will take before these are delivered.
31 January 2014, 16:57
It's really easy to use in fact Kars!
You just need to use strong decal setting solution or alchool and let the decal become smooth.
this is the same I used on the 312PB and the 312 F1.
31 January 2014, 18:40
I used Daco Products Decal Setting. At the end it worked out fine, but somehow i didn't like working with this decal.
31 January 2014, 20:52